Showing posts with label diy. Show all posts

Tuesday, September 27, 2016

Progress...Kind of


Distressed wood paneled ceilin

If you have ever undertaken a major renovation project, you know there are stages to the process.  There's excitement at first, as you make plans and blithely set budgets that you will never follow.

Then there is the exhilaration of taking a sledge hammer to whatever horrible feature you have been dying to get rid of.

Of course, once the dust is settled, you get that slight sinking feeling in your stomach as you realize a) someone has got to get all this broken up retro wood paneling and yellow tile cleaned up and hauled away and b) you can't turn back now.

And then, once all that is cleaned up, you realize now you have to rebuild it all.

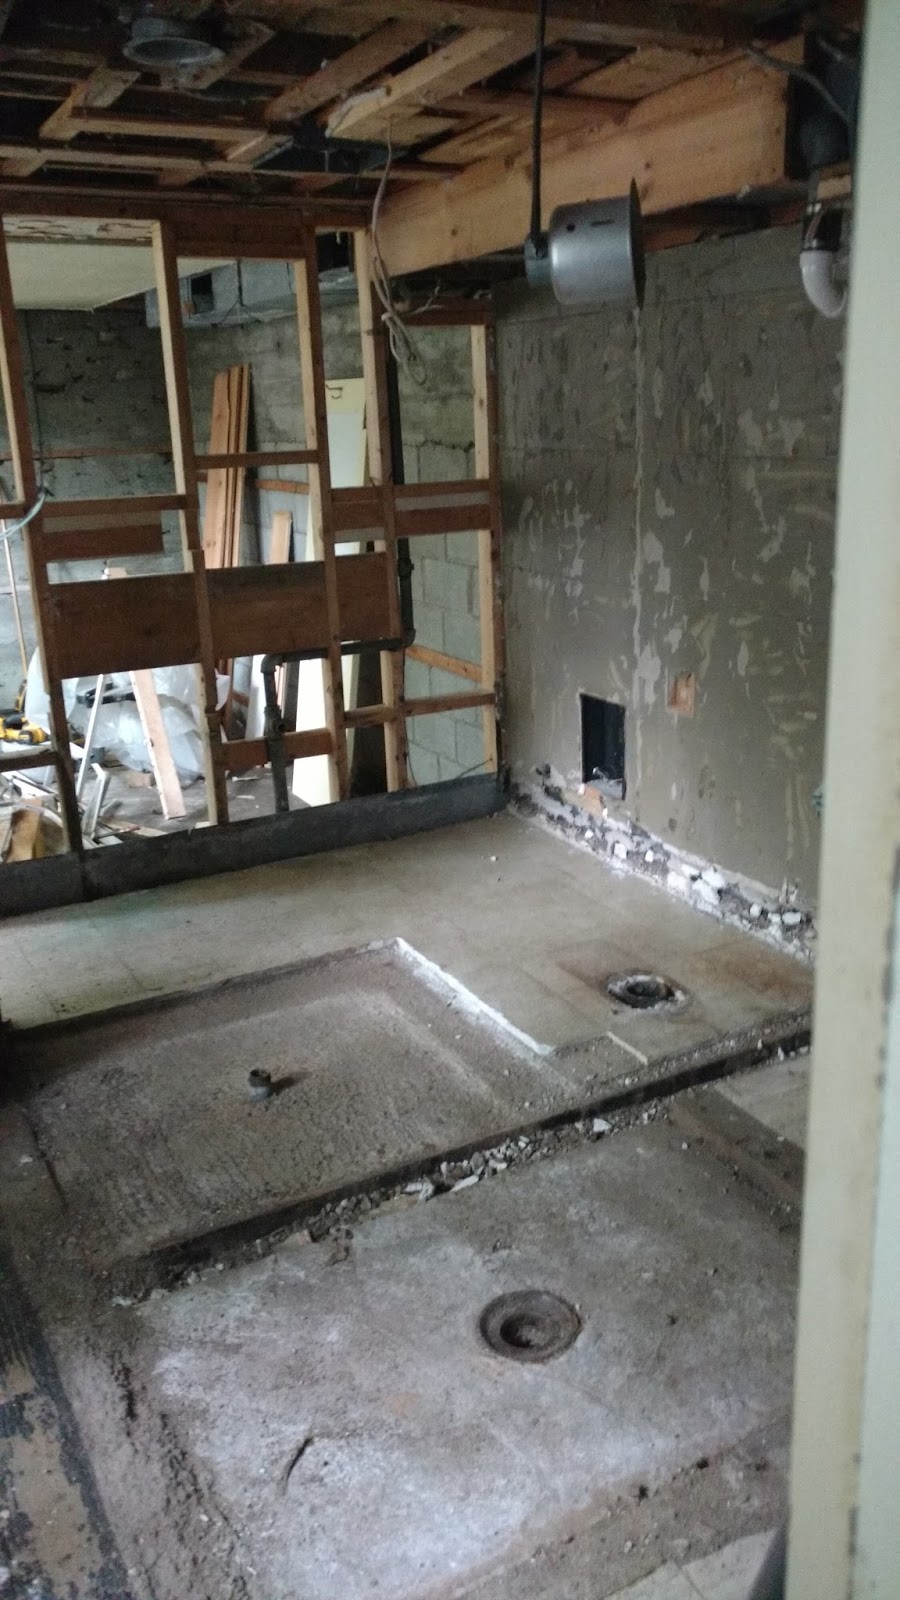
So we are getting there.  The sitting room is mostly done structurally, except for the floor.  The bathroom is dry walled and painted and waiting for the shower to be poured.  The bedroom is torn apart and cleaned and needs to get drywall.  It feels like nothing has been done (it's still an empty room!), but we are actually moving along, and though we likely won't get the Chestnut Suite open for the peak of leaf season, our family and pet friendly suite will definitely be open for the holidays.

The distressed wood paneling on the ceiling comes down one wall in the sitting area.
The beginning of our wet bar has also been framed out.

The shower, being prepped for cement pouring,
The bedroom, formerly home to three different kinds of wall paneling, now just home to a bunch of studs.

Wednesday, September 7, 2016

Tub Envy


$2200 clawfoot tub from Signature Hardware.  Obviously not the
one that will actually be used in the bathroom because $2200. 
So the biggest part of our newest project is the bathroom.  Once two small bathrooms, each with its own shower, our goal was to create one luxurious master bath.  Visualizing the open space proved a bit difficult as we went through a series of floor plans, trying to take the greatest advantage of the existing plumbing.  Our original plan included a double vanity, oversized shower, and soaking tub.  Once the walls were out, it became clear that we couldn't fit both a tub and a shower.  The handy Innkeeper mourned his clawfoot tub, and then we realized we couldn't fit a tub and shower, but we could tuck a tub into the shower.  

With the room wide open, we decided to turn half of the room into a wet room with a shower head on one side and a tub on the other.  If you've been following along at all, you know we are working on a tight budget and luxury items like $2000 tubs are simply not feasible.  But did that stop us?  Not the handy one, at least.

Step one of refinishing a cast iron tub: gently invert the 250 pound metal tub and remove any hardware.

"Good quality" second hand cast iron clawfoot tub. Uh, this should be fun.
Step two of refinishing a cast iron tub: easily unscrew the feet and set aside

Decapitated feet.  Not shown: the twenty mintues, three dead drill bits, hammer, two screwdrivers, one wrench, and can of WD-40 required to remove said feet.
 Step three of refinishing a cast iron tub: sand away 50-60 years worth of paint.  I probably should have used paint stripper as well - the sander smoothed it out a lot, but you can still see where the layers of paint are, especially at the back where it had heavily chipped.

Sanding the tub.  Lead poisoning?  Don't know what you mean.


Manufacture stamp on the bottom of the tub.  The previous owner told us it was manufactured in the 1940's, but the supposedly the date is usually stamped here and the only numbers are 5,6,7,8, and 10.

Step four of refinishing a cast iron tub: Coat thoroughly in an rusted metal primer, including the feet.  No particular reason why.
I'm not sure if this helps prevent the rust, or just makes it look evenly rusty.

Step five of refinishing a cast iron tub: Spray paint with enamel in your chosen color.

I started out with an aluminum colored spray paint, which made the tub look like it was made out of...aluminum.  One emergency trip to Lowe's later, and the color is darkened to a smoky grey although I did use the lighter silver to add some highlights.

Step six of refinishing a cast iron tub: Paint the feet and reattach - maybe get some non rusted out screws to do it.
Don't tell anyone, but the feet are actually just balancing on the tub in this shot, pending a second emergency trip to Lowe's for some new screws.

Step seven of refinishing a cast iron tub: Gently flip the 250 pound tub back over to reveal the perfectly beautiful insi-gah!  Okay, maybe not perfectly beautiful.

The tub was not actually in terrible condition, but between the rust stains and the enamel starting to wear at the bottom of the tub, we went ahead and re-enameled using the same kit the rest of the bathrooms used.

Step eight of refinishing a cast iron tub: Leave it outside forever because there is no way you are dragging that thing down stairs.  Just kidding.  Kind of.

Purposefully dark shot so the final reveal in the bathroom will be more dramatic.  Or it was 8:30pm and getting dark and we were trying to get it covered before every gnat in the county got stuck to it.  Either one.
. There's more renovation fun to be had.  Keep up with all the latest at Facebook and on our website.

Thursday, August 25, 2016

And so it begins again...

Once upon a time, many years ago (okay, more like two and a half years ago, it just feels like a lifetime), overwhelmed by the sheer number of things that needed to be fixed and updated, we decided to focus on getting the three rooms inside the Inn ready for business before tackling the rooms in the addition.  

Now, just a few months into our opening, we have been so blessed with so many wonderful customers that we often find ourselves uttering those words to potential guests that make us simultaneously overjoyed and so sad - "I'm sorry, we're booked."

So, we turned our attention back to the suite downstairs.  We think that it was likely rented as two separate rooms before - there are two decent sized rooms and two small bathrooms, but the bathrooms are located in a common hall between the two bedrooms making for a less than ideal layout.  The first room is low ceilinged and somewhat dark owing to the fact that it has one small window facing the stone stairway.  Fine for sleeping, but no great views and not a terrible lot of space.  The second room is a little bigger, but was constantly damp - where was the water coming from?  The bathrooms were fairly small and needed the same updating that the others had.  


The blue room with its one small window and walls made out of a couple different kinds of paneling.

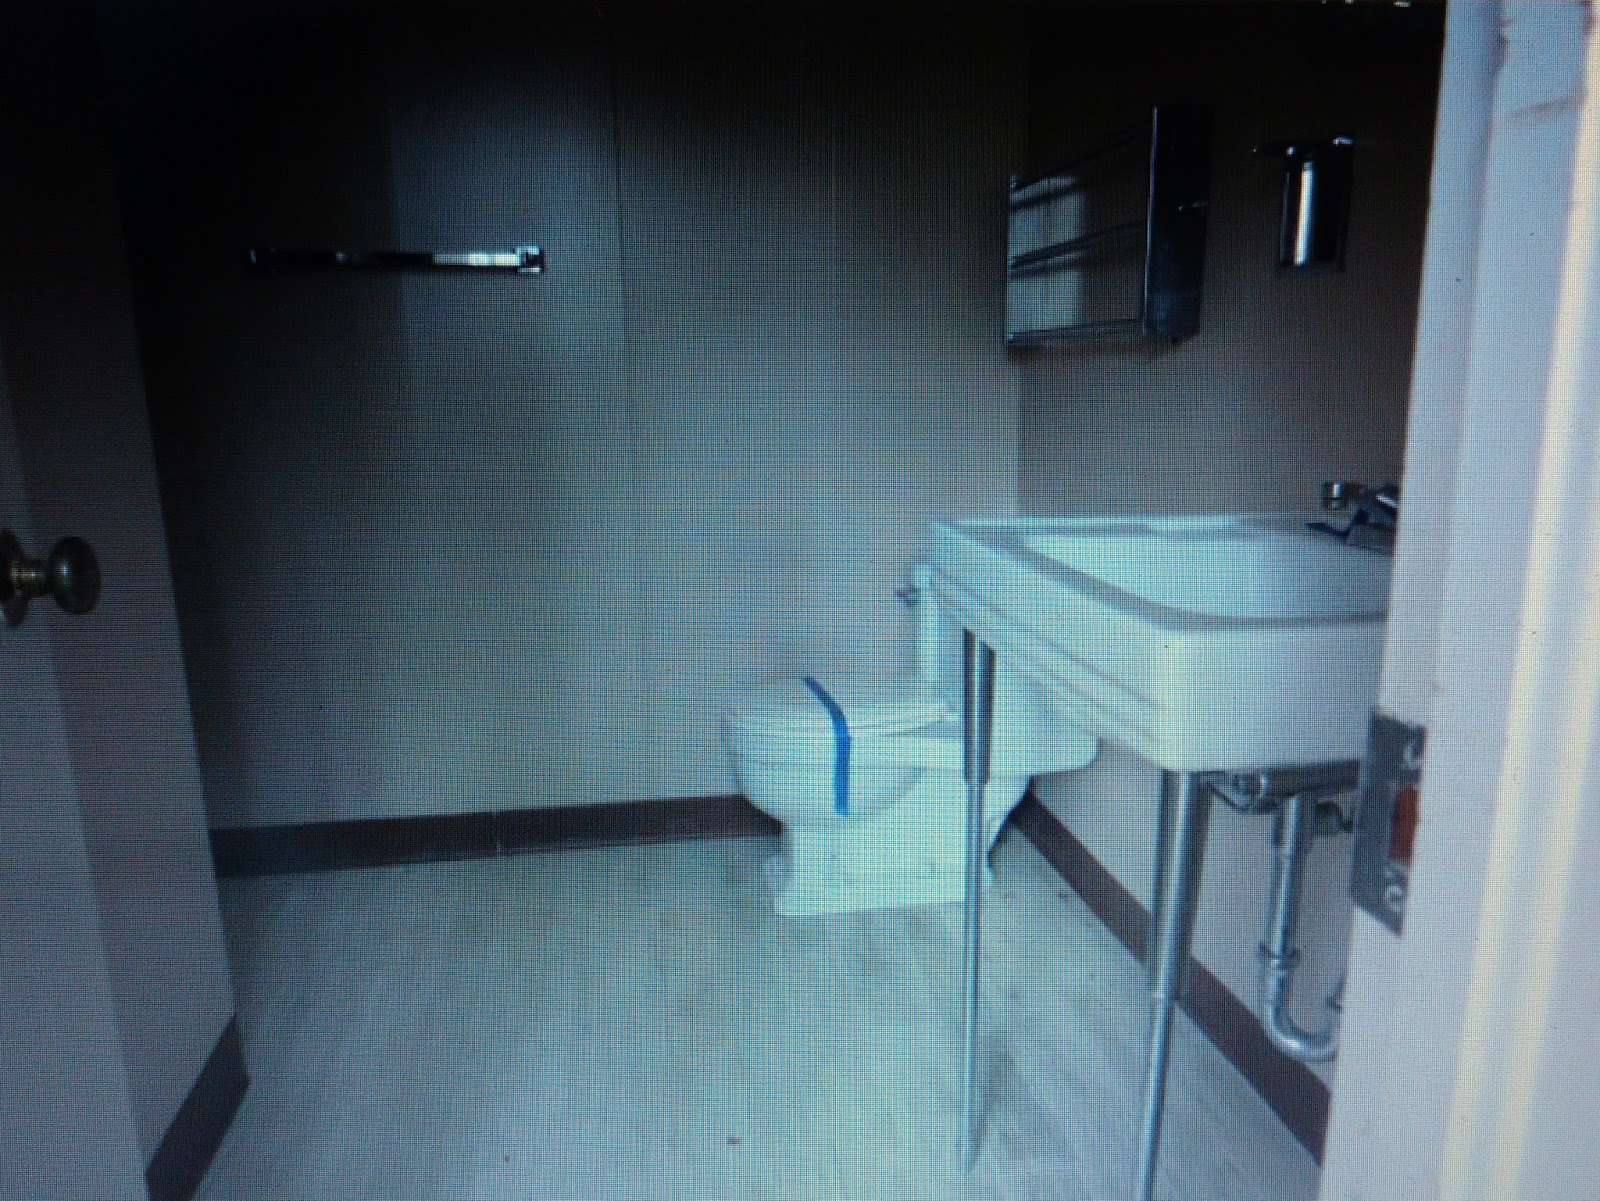
Bathroom number one.  Not bad, except that shadowy spot over on the left is literally just an empty alcove.  Good for staring into the abyss while using the toilet.

Bathroom number two, a little smaller, but not much worse than the rest.

The second bedroom, note the multi colored walls and the eternally damp floor.  
We had decided almost immediately to rent the rooms together, using the smaller, darker room as the bedroom, and the larger room as a sitting area.  The suite would be able to sleep up to four guests.  Our original idea had been to update one of the bathrooms the same way we had done the ones upstairs, and then close off the other, with the thought that one day, when we had the time and money, we could convert the two bathrooms into one bigger bathroom.  In the meantime, we could use some paint and new to fixture to, uh, wait, what's going on down there?

We have neither time nor money, yet the shower is being torn out.  Not shown: the sledgehammer the handy Innkeeper used to tear it down by hand.
More tearing out of walls.  On the plus side, we found the source of the water - a leaky pipe.  I'm sorry, did I say "a leak pipe"?  I meant, all the leaky pipes.  As in every pipe down there was dripping in some way, shape or form.  All the paneling in both rooms will be removed due to water damage.


Breaking down walls between the bathrooms.

The toilet here will be replaced and a double vanity put in beside it.


Completely demolished - both bathrooms are stripped down to studs and cement.

So what's next?  Well, honestly we have only the vaguest idea.  We do know that this will be involved, though:


Keep following along on Facebook and at redleafriverinn.com!


Wednesday, May 25, 2016

Window Art


The cleaned up frame
At the beginning of the year, we replaced thirty five windows in the Inn, that's nearly every single window except for the large picture windows in the main room and a couple in the basement.  The windows were old and in poor condition, with smaller panes of glass.  One of the windows, though, was a casement style that had been stuck closed since we moved in, and was about two feet wide and four feet tall.

We salvaged it and I immediately thought of turning it into some of sort of picture frame, probably a collage of smaller pictures since the window was so large.

After a few months of working on other projects, we dug the window back out and started cleaning it up.  First was the removal of a whole lot of dust and spiderwebs, then I sanded the frame lightly.  The outside of the frame is heavily coated in paint, but the inside is just wood and cleaned up nicely.

I restained the frame, using ebony to bring out the nicks and dings, and a lighter maple to even out the color.  Then I washed the whole thing in driftwood to give it a little bit of a smoky finish and some grey tones.  Last was a layer of wax to seal it all in.

Etching cream, stencil adhesive and rubbing
alcohol for cleaning
Then (after cleaning the glass again to get rid of all the stain smudges) I started laying out pictures to see how the collage might work.  The large expanse of glass was harder to fill than I first imagined, so I thought first about giving the glass a faux mercury finish around the edge to take up some of the space.  I was worried that would make it too opaque to see the pictures through, so then I thought about frosting the glass instead.  In the process of that, I discovered glass etching.

Using acid, glass etching cream will permanently etch glass rendering it more opaque than unetched glass.  So I picked up a bottle of the cream along with some new stencils and stencil adhesive and set to work deciding my design.

Pictures and the dry erased stencils
Tracing the stencils on the reverse side
I laid the pictures out again and then started tracing the stencils onto the negative spaces using a dry erase marker.  I also used the dry erase marker to trace around the pictures so I would remember where they went.  Next I taped off a narrow border around the edge of the frame, partially because the frame is very narrow for the size of glass and partially because some of the paint on the reverse side was still visible and I was hoping to hide it a bit.  Once I was happy with the arrangement, I removed the pictures and flipped the frame over to mark the placement of both stencils and pictures with the dry erase marker.  Then the front of the glass was erased with first plain window cleaner and then rubbing alcohol.  Some window cleaners (especially those that say they resist fingerprints) can leave a film that inhibits the etching.  Perfectly clean glass means even etching.

Then came the fun part - the etching.  I applied stencil adhesive to the backs of the stencils and then firmly adhered them to the glass.  There are special etching stencils, but I used regular painting stencils.  Just make sure they are completely adhered or the etching cream can get underneath the stencil and blur the image.  After waiting a few minutes, I removed the stencil and wiped off the cream with water.
Finished etching on the left while the cream does its work on the right.  Water will make the etching "disappear" so they will darken considerably as the glass dries.


All the etching completed.  The border required a lot of cream and more water than I had on hand.  A few streaks are visible at the top of the glass from where the cream smeared as I was cleaning it up.


The etched glass with pictures

Saturday, May 7, 2016

Come on Inn, Y'all!

Taking down the old sign
So many moons ago (23 of them to be exact), we set up an obscenely tall ladder on the gentle slope that is our road and spent some time fixing up the Chestnut Walk archway that presides over the entry to the Inn.  Although the arch is pretty solid, it is also quite tall and sways alarmingly when one is fifteen feet or so up on a ladder.

We painted the chipping sign and removed the old bed and breakfast sign that was hanging from the archway.  This was necessary both to take down the old name (which we had no ownership of) and it helped slow the flow of people coming to see the Inn.  We love visitors, but at the time parts of the house and grounds were unsafe and we had all kinds of projects in various states of completion.  In other words, it's been a bit of a mess.

But now the honey-do list has shrunk from a thousand things to a mere five hundred and we are actually getting ready for our grand opening!  So we decided to put up a new sign.

We decided on a painted wood sign for now, in the shape of our leaf logo.  What, you thought we would do a simple rectangle?  Crazy talk.

We painted the sign grey and then hand painted the leaf outline in red laquer

Next we hand lettered the Inn name with a black Sharpie paint pen  - I love these things

Hanging the sign - a little to left, honey!

The finished sign, mostly straight and almost centered

Monday, February 1, 2016

Around the World in Twenty Spoons

Yesterday, I spent the day stripping paper out of kitchen cabinets, scrubbing shelves, and reorganizing pans.  Today, I was supposed to start scrubbing the laundry room, but I rediscovered a bag of collectible spoons while emptying out drawers in the kitchen and decided to work on a display case for them instead.  The spoons themselves appeared one day in a care package from home (thanks, mom!) and cover countries all over the world.  Some are stamped with place names such as Monaco, Istanbul, Montreal, Luxembourg, Ireland and Texas, while others require guessing like the windmill that is probably from Denmark, and a couple of spoons whose finishes suggest that they might be from China or Thailand.

Growing up, the spoons were all displayed in a special case, but the case is now gone.  I did, however, have three picture frames, all missing their glass.  Hmmm....

The mismatched picture frames, all missing their glass and somewhat worse for the wear


I sorted and polished all the spoons first, with varying success, then started prepping the frames.
Step one - spray paint all the frames antique pewter.

After painting the frames, I covered the backing to the frame in black felt and then began experimenting with how to attach the spoons.  I started using glue dots because they are removable, but turns out they are a little too removable. Some of the spoons began to slid once the frame was stood up.  I added a touch of glue under the dots and now it holds beautifully.

Attaching the spoons.

First frame